Multiple Attributes
Create an attribute-based risk map based on items from multiple overlays.
These items can have specific attributes with specific values within geography units.
Click Applications > Risk and select Life. 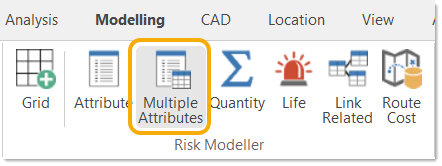
This opens the multiple attribute-based risk wizard.
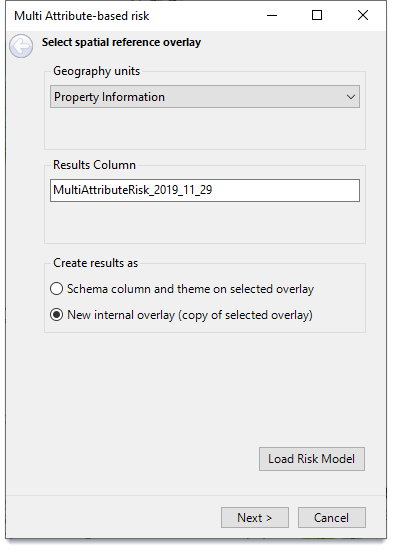
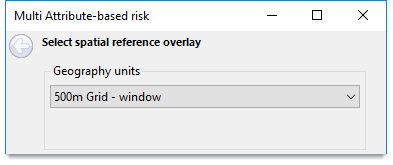
1. Geography units
Select the overlay that will receive the thematic result of the risk calculation. This could be the grid overlay created in the Grid command.
For example:
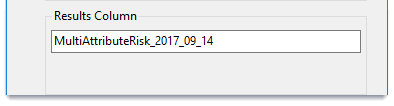
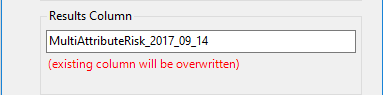
2. Results Column
This entry specifies the Results Column.
The risk calculation will result in the items in the spatial reference overlay receiving an attribute with their individual risk value.
A default name will be suggested for this attribute – based on the type of risk calculation and the date the command is run.
For example:
You can edit this to any name providing it conforms with the rules of SIS Desktop property names, i.e. alphanumeric and underscore characters only.
The Results Column property is of type double, e.g. MultiAttributeRisk_2017_09_14#.
TIP: The # need not be entered into the Results Column box.
This property is added to the overlay’s schema.
If the schema already includes a property of this name, you will be warned about existing values that may be overwritten:
3. Create results as
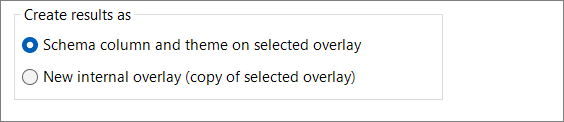
Schema column and theme on selected overlay: The Geography units entry at the top of the dialog specifies the overlay on which the resultant risk map is to be based (e.g. super output areas.)
If the selected spatial reference overlay is not editable, only the New internal overlay (copy of selected overlay) option is made available.
4. Load Risk Model
Click Load Risk Model to load a previously saved risk model.
Click Next to select attributes.
Here is an example of the Select attributes window.
For illustration purposes, the Overlays and Attribute and Items' Data Tests have been selected.
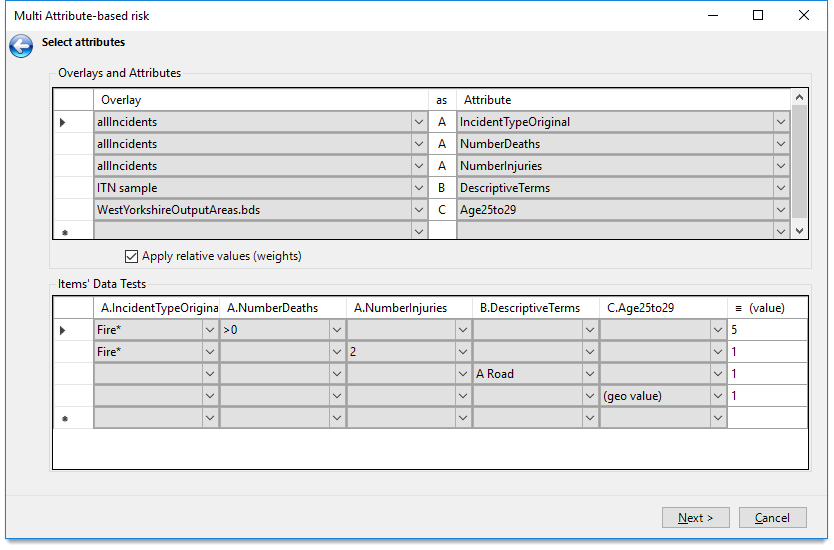
Overlays and Attributes
Overlay
All overlays are available from the drop-down, i.e. the analysis can be performed on an invisible overlay.
Attribute
Once an overlay has been selected for inspection, define the attributes/columns for consideration.
Selecting an attribute from a drop-down reserves a column in the grid and populates the column’s drop-down with attribute values from the overlay.
Note: Only items meeting the attribute criteria are counted.
Items' Data Tests
Select a test from the drop-down list for each of the attributes and enter any required weighting value.
The weighting value sets a criterion for the item it should meet a set value (other than 1 when counted.)
In this example NumberDeaths is given a weighting of 5 whereas NumberInjuries is given a weighting of 1.
Wildcards and numeric operators can be used in the Items' Data Tests fields.
Wildcards
The Select attributes dialog allows multiple values to be entered. For example * is added to Fire to select all fire types. The wildcard characters * (multiple characters) and ? (single character) van be used.
Numeric operators
The attribute value column in the grid can accept the following numeric ‘operators’:
>
>=
<
<=
And - (so a range can be specified)
Click Next to calculate the risk values.
This process may take some time, a progress message will be displayed:
When the values have been calculated the Specify theme style window will be displayed.
.png)
Use the drop-down menu to set the theme style.
There are two sets of Themes:
- RAG: Red Amber Green risk colours
- Heat – based on green to red hotspot colours.
TIP: Themes are defined in the Risk Modeller's configuration file: riskModellerConfig.xml.
Use the second drop-down to define how the bands are calculated for the current set of results (i.e. by Equal Range or Equal Count.)
A note on Percentiles:
Percentile band values can be changed by editing the values in the >=
The theme Band ranges can be manually adjusted by entering new values in the >=Min column. These are then used as the defaults for future uses of the theme.
The decision to use any of these options depends on the actual values.
Check the Ignore zero values tickbox if required.
Click Options to display the Theme Settings dialog:.png)
| Option | Description | |
|
Theme pen for geography units |
If required change the pen style by selecting a style from the Style drop-down box. |
|
|
When ignoring zero values |
Check the Set zero values blank in theme tickbox to prevent all zero values which could result in large areas of colour being shown in the output grid. |
|
|
Theme Labels |
Check the Label ranges with numeric limits tickbox to label the ranges with numeric values. |
|
Click OK and the Save Risk Model button to save the Risk Model.The model settings are saved as a .JSON file.
Click Finish to create Multiple Attribute-based risk data.